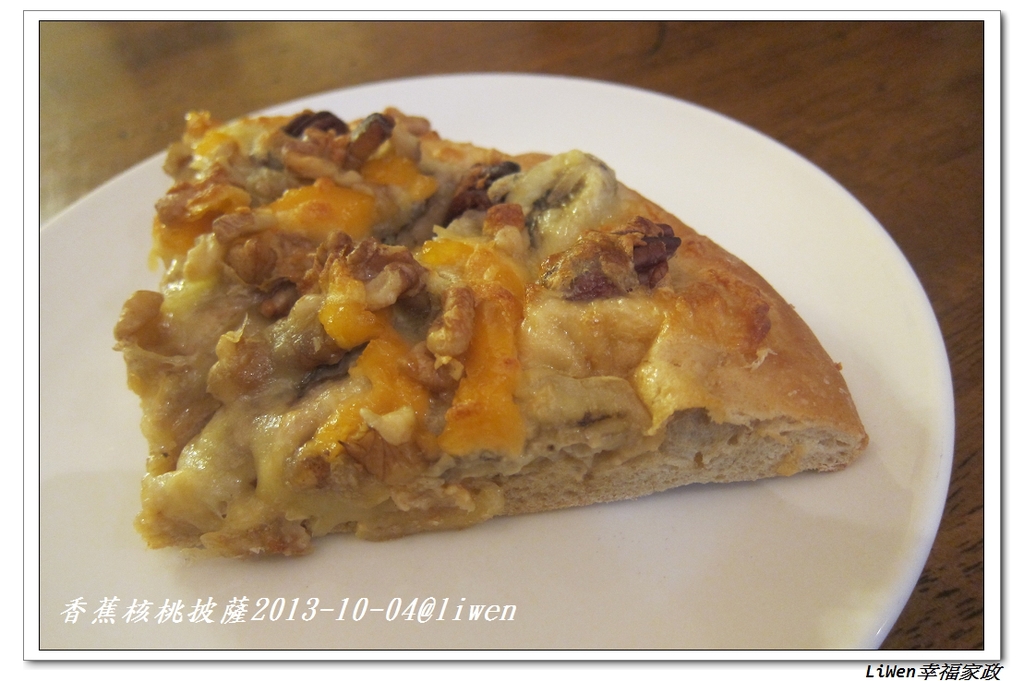
香蕉核桃比薩
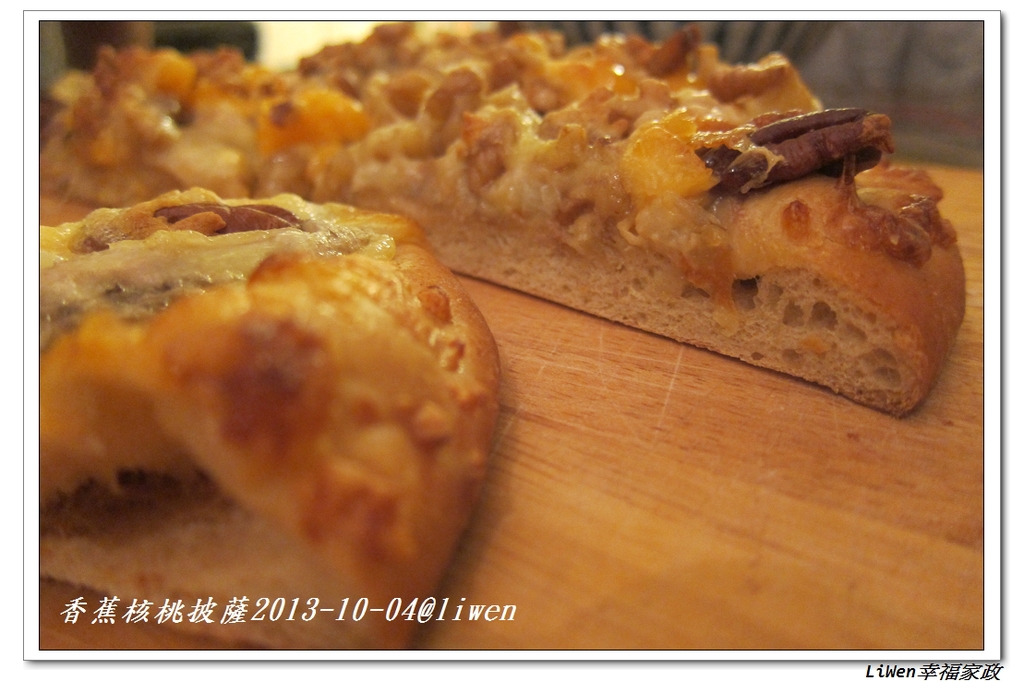
前幾天聽同事談起竹北有一家好吃的窯烤比薩店,他們家還在唸幼兒園的小女兒最喜歡其中的香蕉核桃比薩,讓我興起想要自己也來做做看的念頭,因為上學期的瑪芬蛋糕教學過程中,赫然發現許多小孩很不喜歡核桃哩!
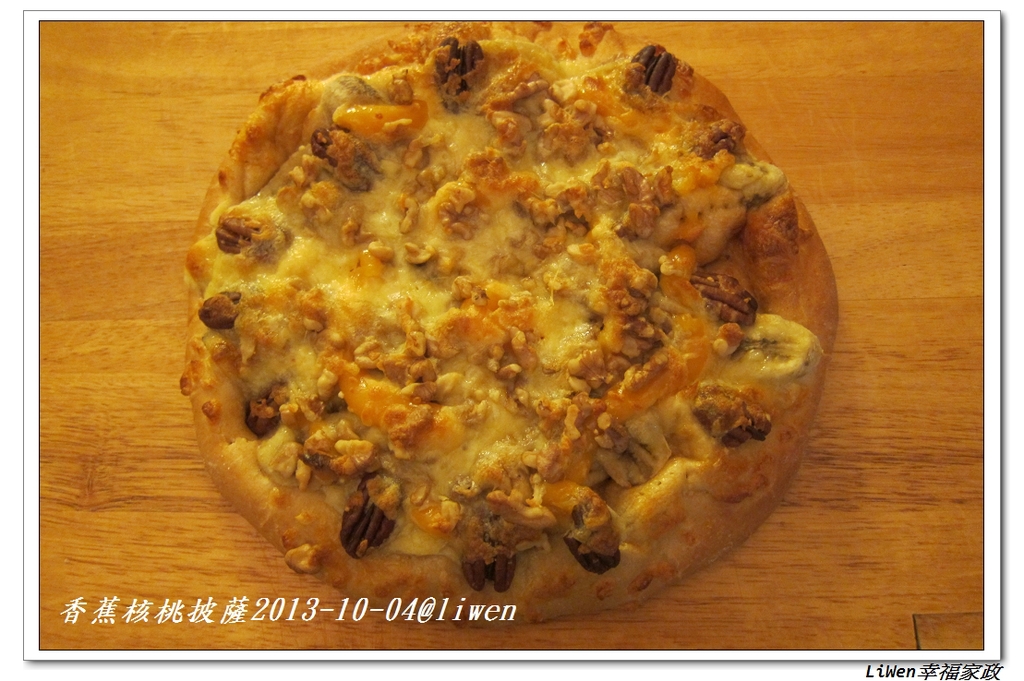
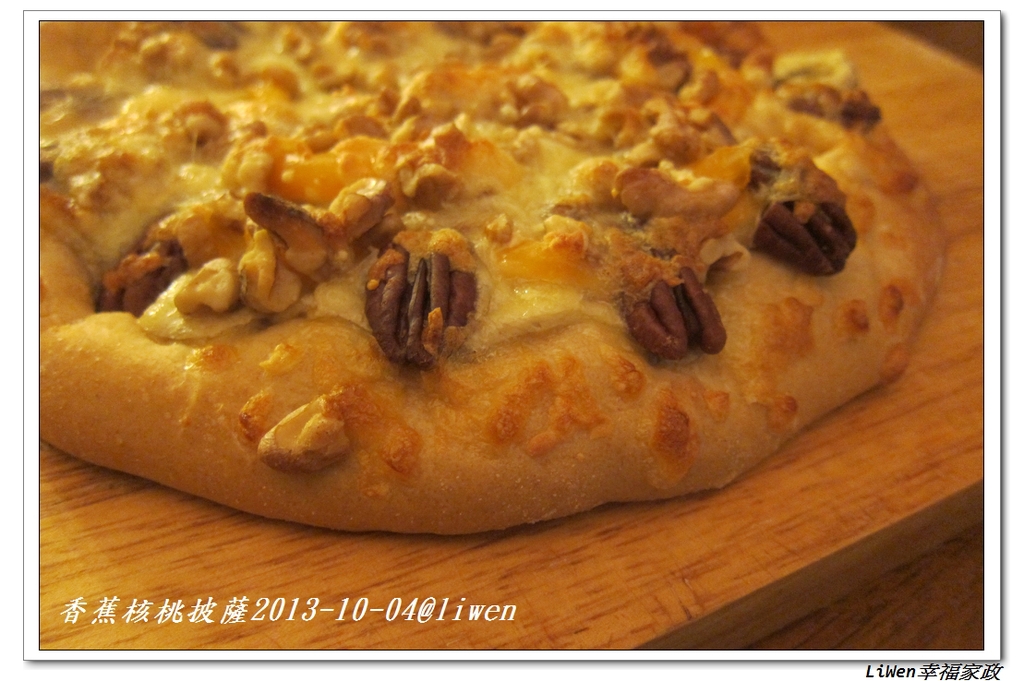
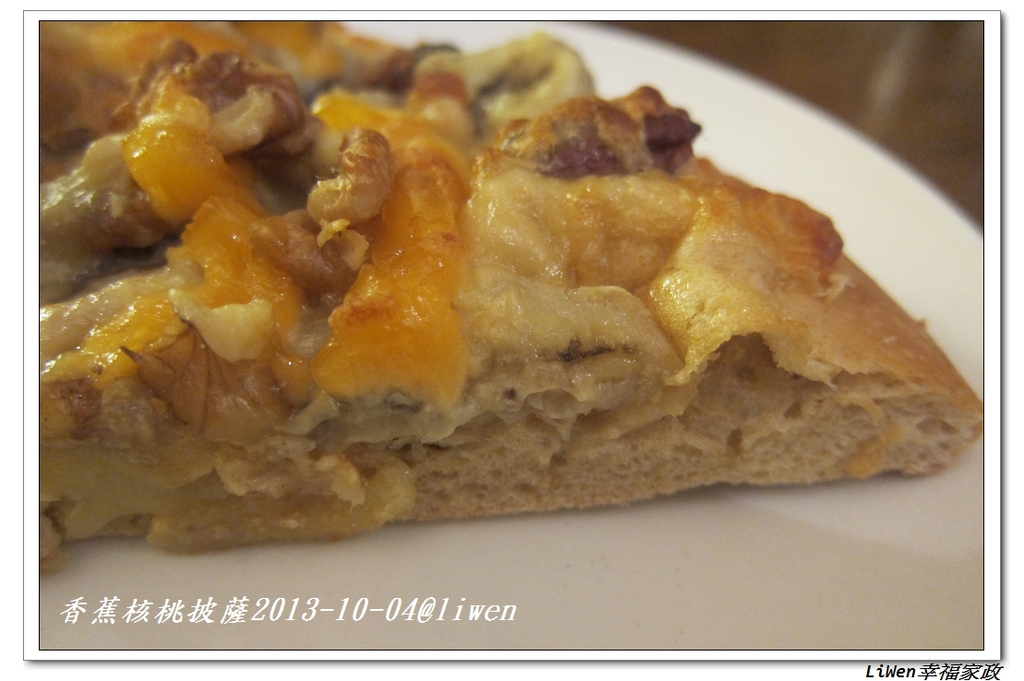
我使用了冰箱裡還有的「小兔子奶黃麵包」的麵糰當餅皮(其實任何麵包麵糰都可以拿來烤比薩喔!),因為已經冷藏了兩天,烤出來的餅皮非常Q軟有彈性,雖然無法像窯烤披薩那麼薄脆,但也好吃極了!核桃和胡桃與香蕉真是絕配,再加上微酸鹹甜的主婦聯盟番茄沙拉醬和乳酪絲,滋味絕佳!忍不住一片接著一片哩!
nEO_IMG_IMG_3304.jpg
nEO_IMG_IMG_3292.jpg
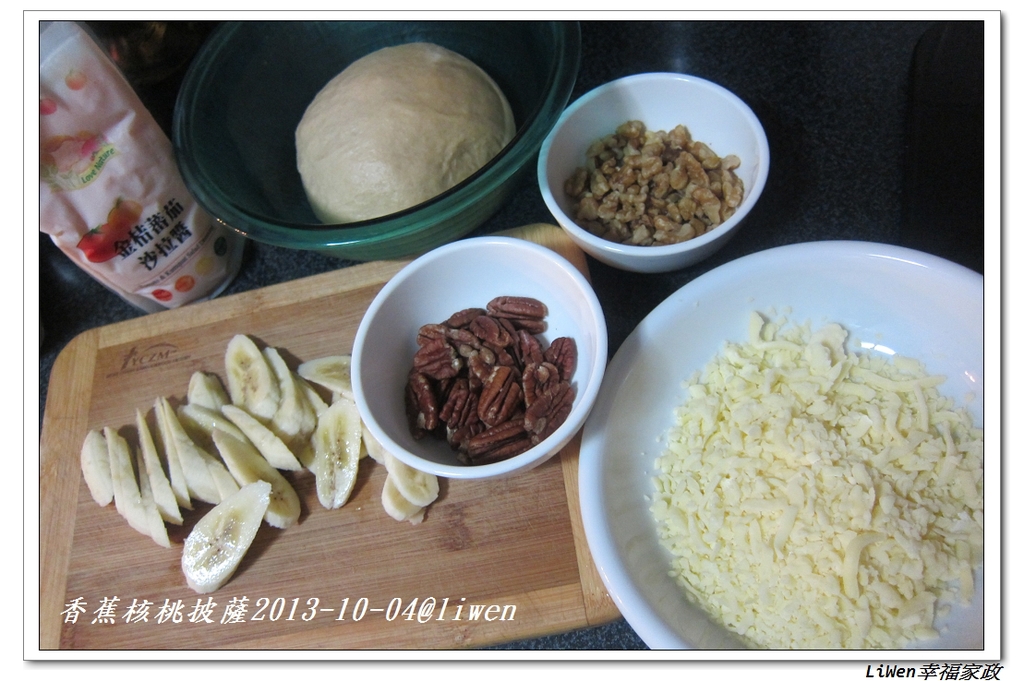
材料:
1.麵糰270g
2.香蕉2小根
3.核桃50g
4.胡桃20g
5.金桔番茄沙拉醬 適量
6.乳酪絲 適量
nEO_IMG_IMG_3293.jpg
nEO_IMG_IMG_3294.jpg
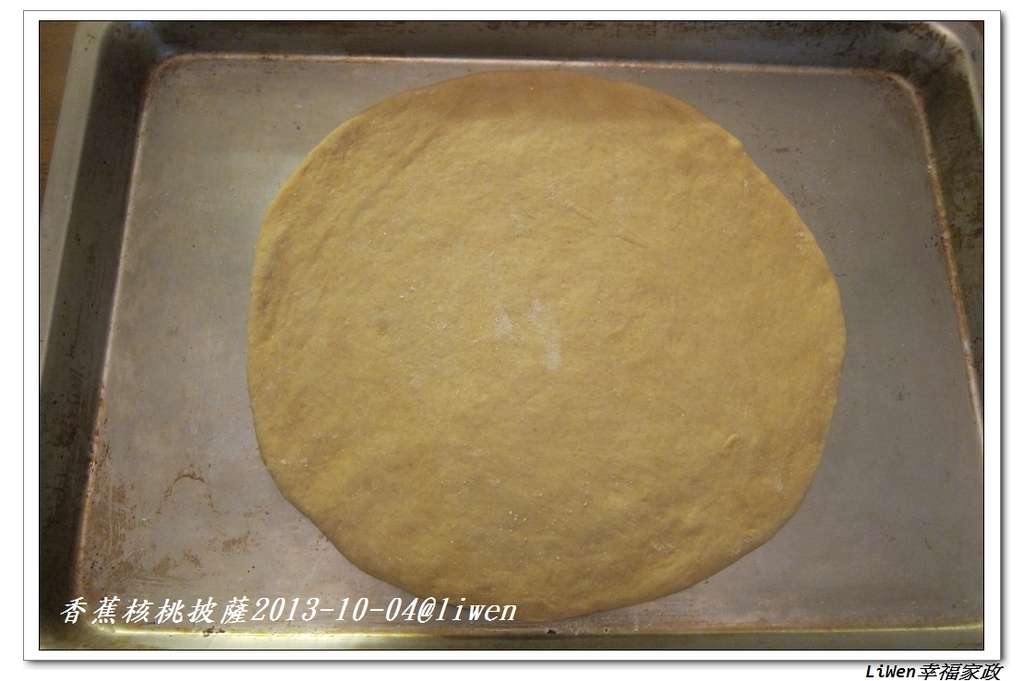
做法:
1.檯面上灑少許麵粉,將麵糰擀開成直徑約26公分的大圓薄餅,再移入同樣也灑了少許麵粉的烤盤上
nEO_IMG_IMG_3295.jpg
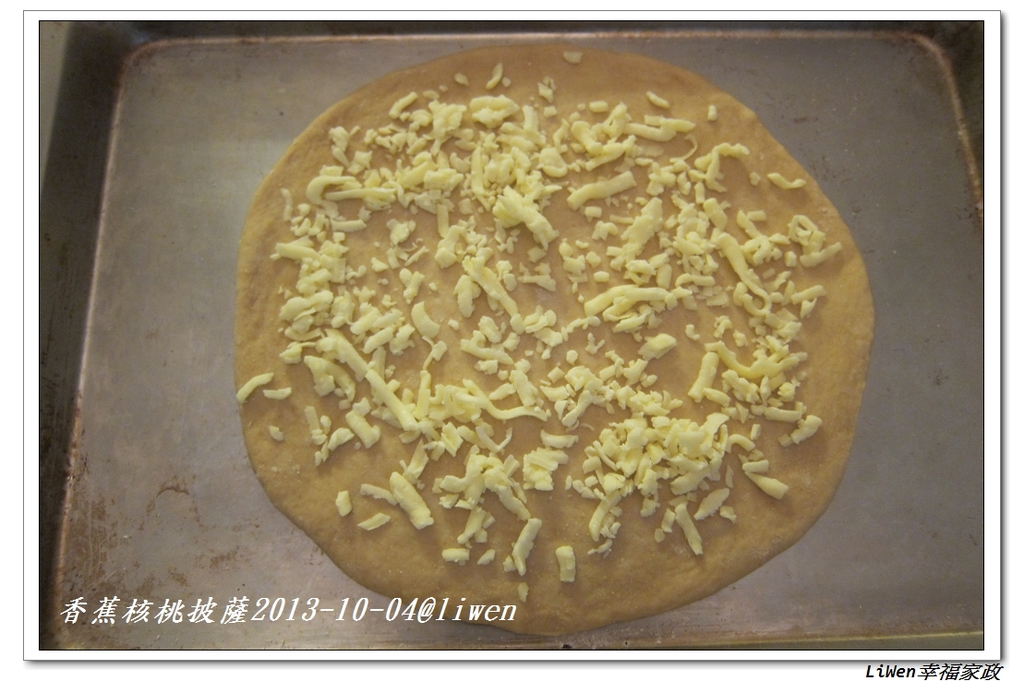
2.在餅皮上灑上一層乳酪絲
nEO_IMG_IMG_3296.jpg
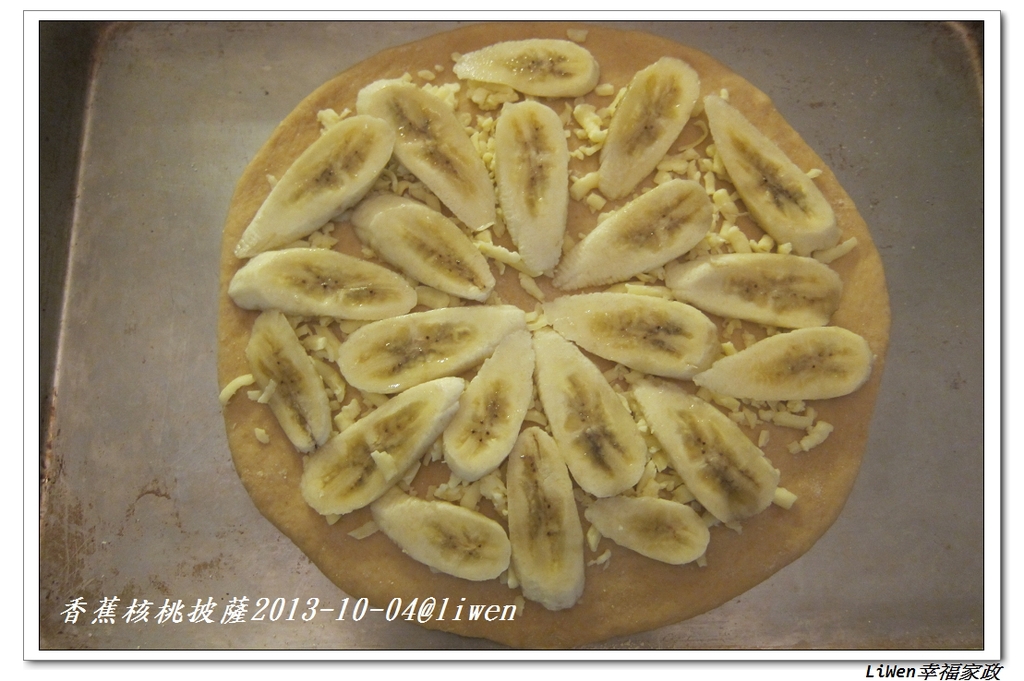
3.將香蕉斜切薄片擺上去
nEO_IMG_IMG_3297.jpg
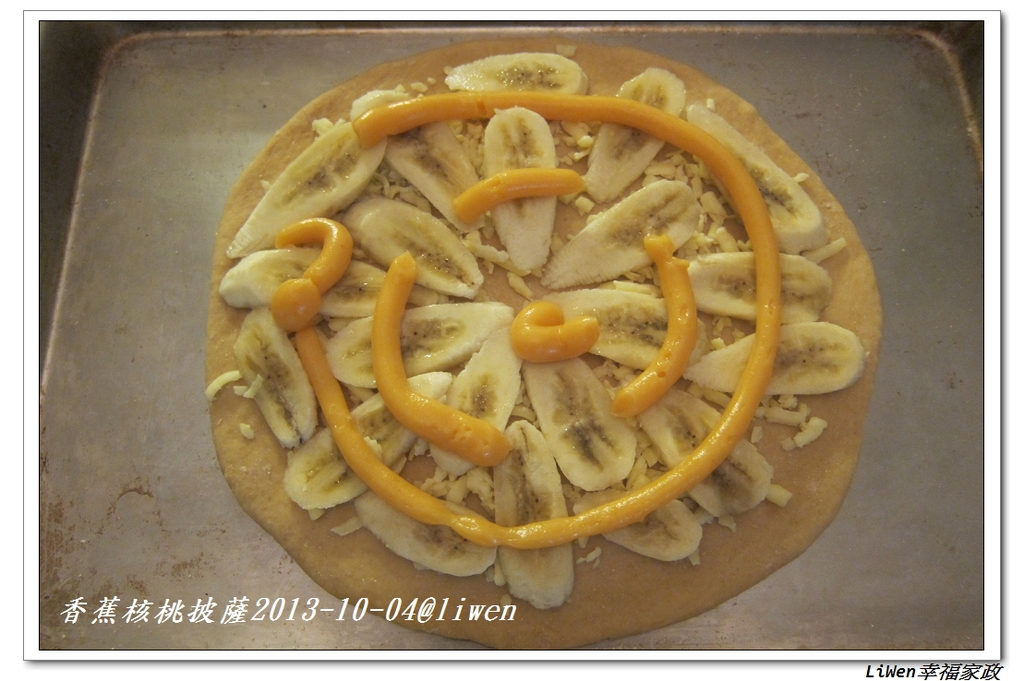
4.擠上適量番茄沙拉醬
nEO_IMG_IMG_3298.jpg
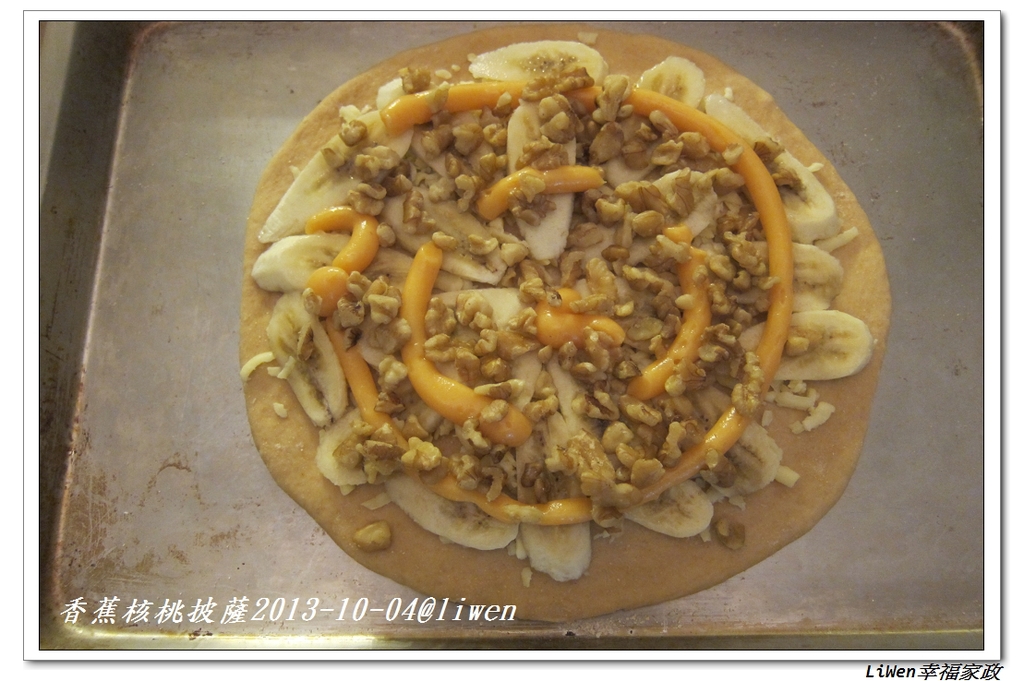
5.接著擺入核桃
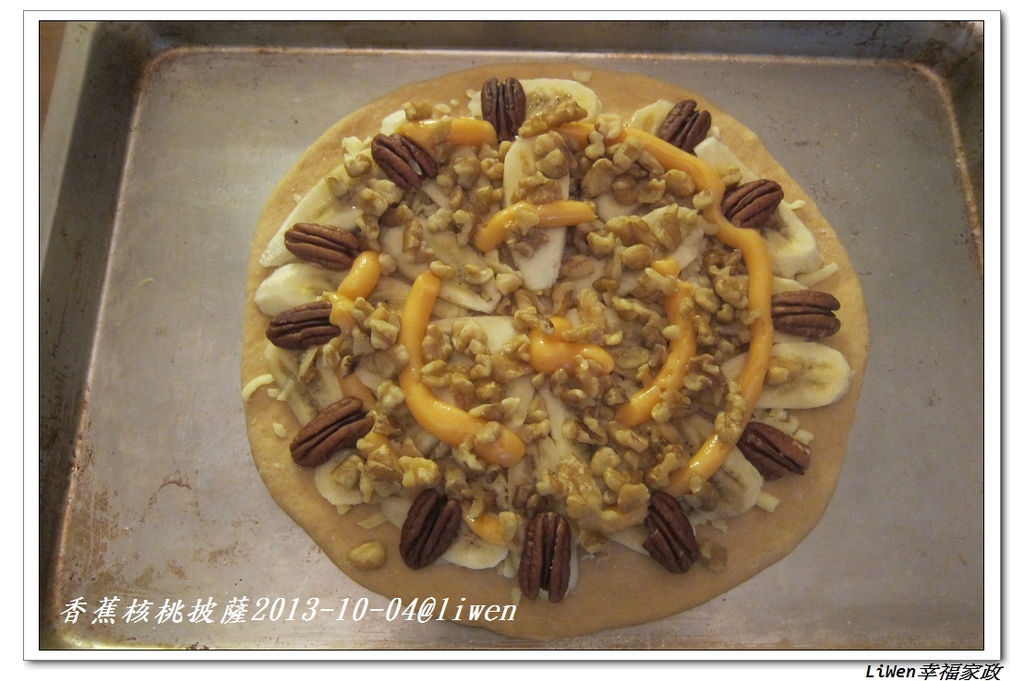
nEO_IMG_IMG_3299.jpg
6.再排入胡桃,如果全部使用胡桃也很好
nEO_IMG_IMG_3300.jpg
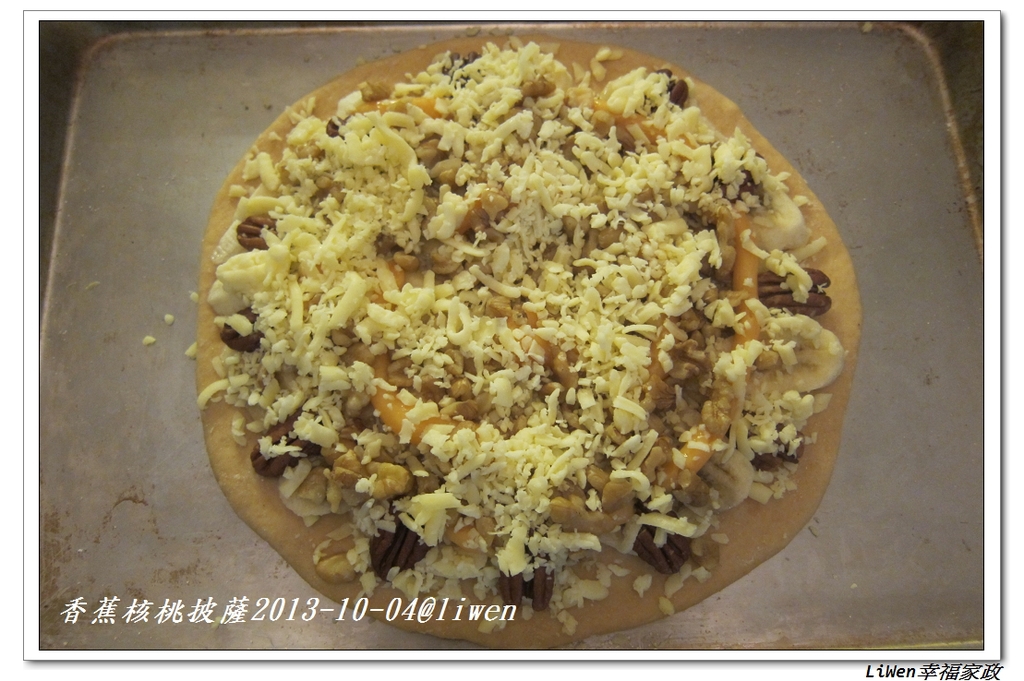
7.表面灑滿乳酪絲,放入已預熱220˙C/240˙C烤箱中烘烤約12分鐘
nEO_IMG_IMG_3301.jpg
8.若烤至中途餅皮已上色但乳酪絲仍未烤至金黃,將下火調成0˙C繼續再烤
nEO_IMG_IMG_3302.jpg
註:我喜歡把香蕉和核桃胡桃擺得滿滿的,但是詠喜歡少一點(約一半的分量),隨喜喽!
nEO_IMG_IMG_3307.jpg
nEO_IMG_IMG_3308.jpg


2")
 還有各種吐司變化料理簡單做懶人包")


")

一般留言